Case Studies
ARTIFEX SOLUTIONS
CASE STUDIES
ARTIFEX SOLUTIONS
CRITICAL IN-PROCESS INSPECTION EFFORT REDUCED BY 90%
About The Company
Artifex Solutions is a company based in San Juan, Puerto Rico. Founded in 2013,
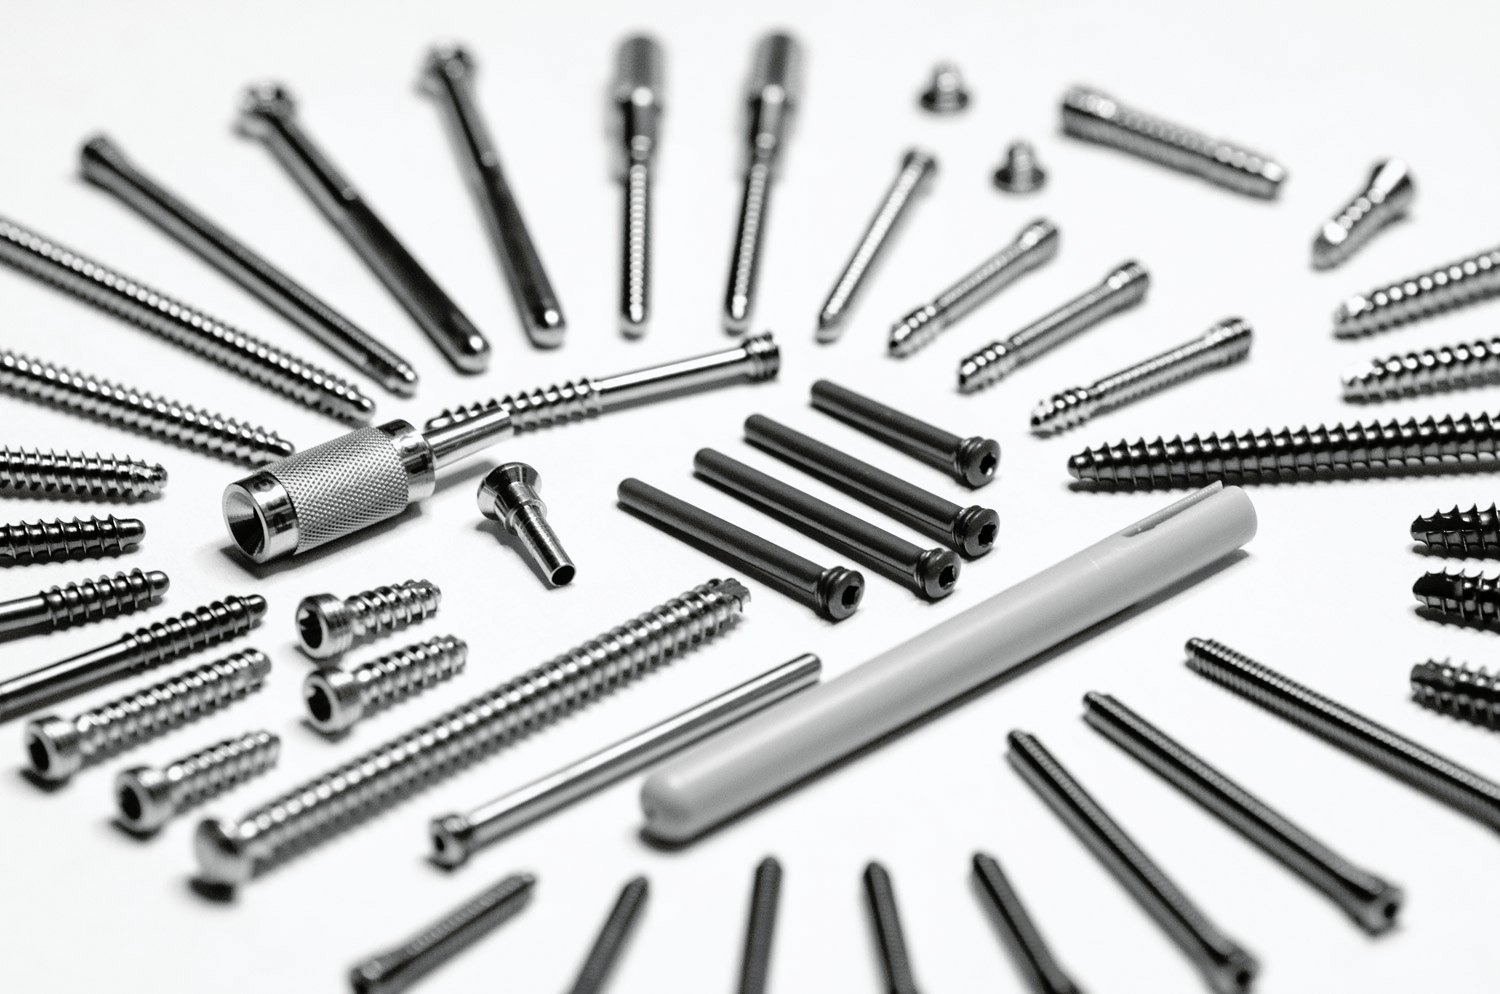
the company is focused on the manufacturing of medical instruments and bone screws, producing as many as 25,000 titanium and stainless-steel bone screws a month.
Today, Artifex Solutions has grown from its start as a single-machine company to a business that occupies over 4000 sq. ft. of space and is looking for more. The company currently has more than 20 employees.

Kelmith Lopez
Quality Assurance Engineer, Artifex Solutions
The Challenge
When Kelmith Lopez was tasked with finding an optical comparator in 2016, he knew he was up to the challenge. As a mechanical engineer for Artifex Solutions, part of his job included responsibility for final product quality inspection, ensuring dimensional compliance of production parts.
Based on his experience with comparators, Kelmith knew that the best thing for Artifex Solutions was to find an optical comparator with more capability – one that could reduce inspection time, generate electronic chart overlays, and reduce measurement variation from multiple operators.
With these goals in mind, Kelmith and his Artifex colleagues set off to IMTS 2016 – a premier manufacturing technology show held every other year in Chicago. While walking through the show, they saw many latest technology metrology systems. Their search led them to Quality Vision International (QVI), a company that specializes in optical metrology systems. More specifically, they were introduced to the c-vision™ Video Contour Projector®.

THE OGP SOLUTION

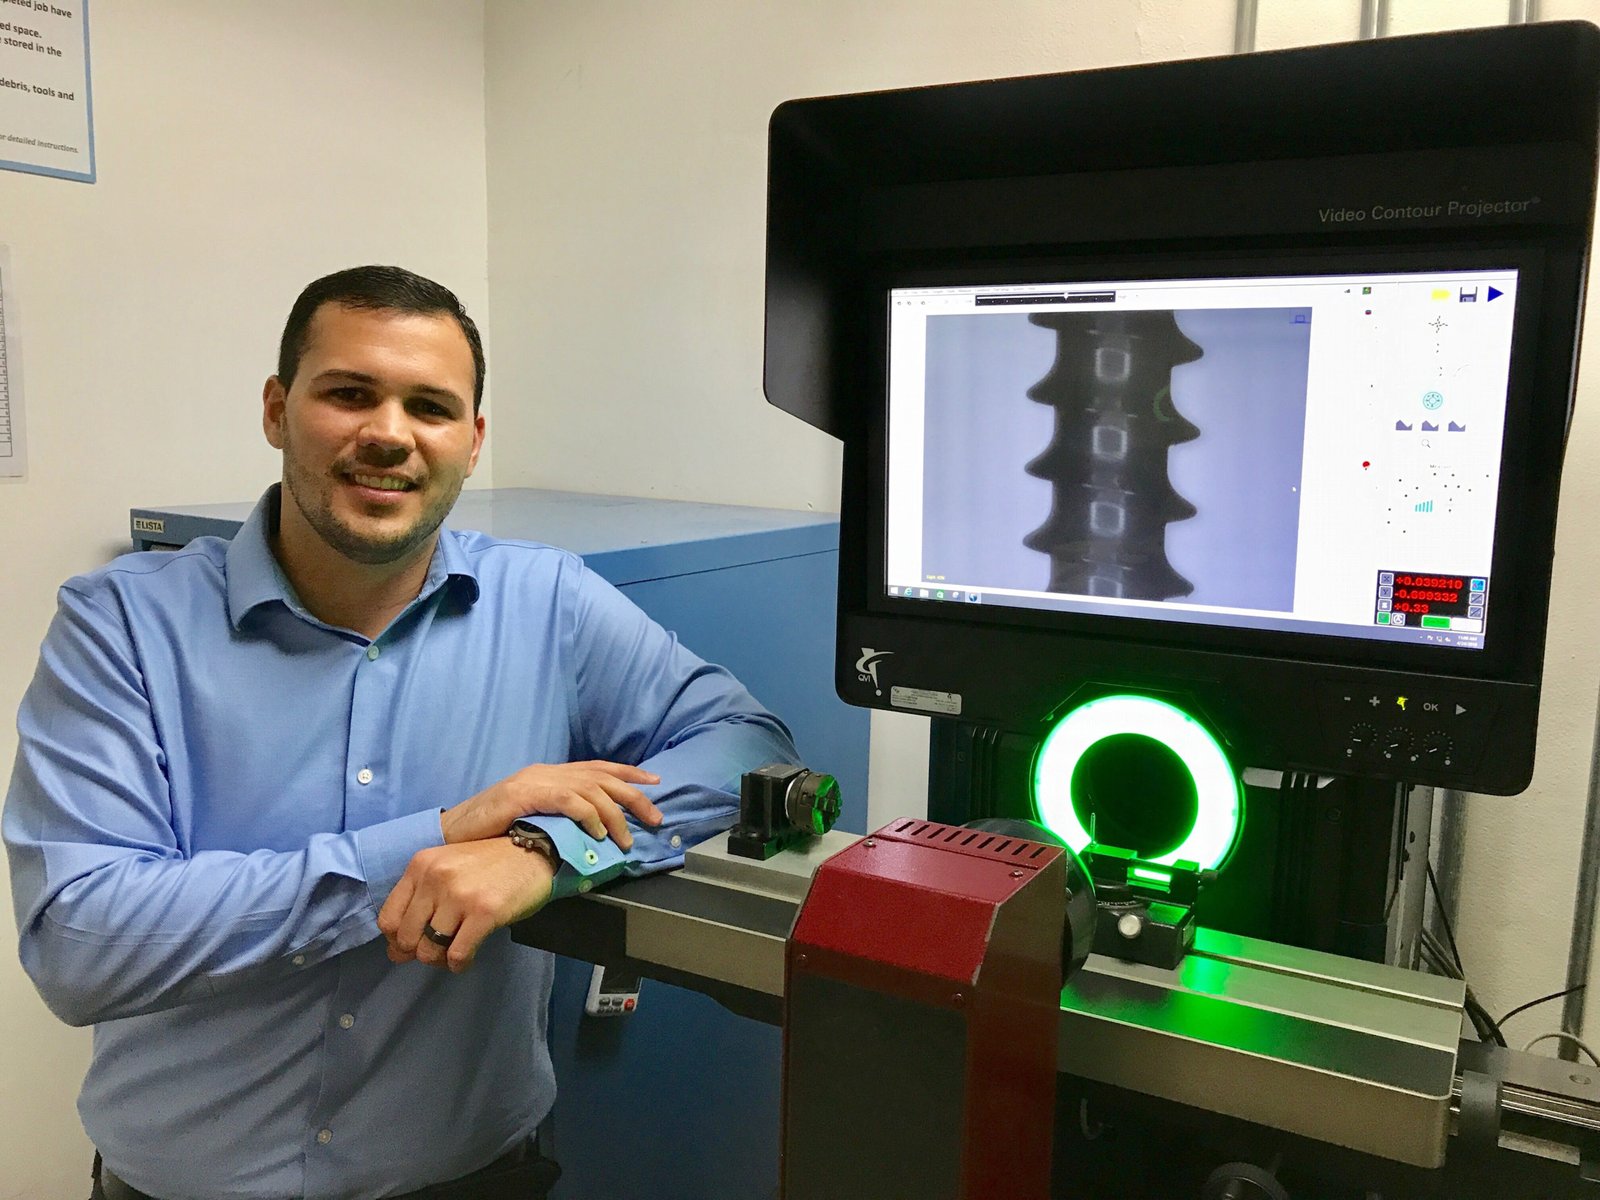
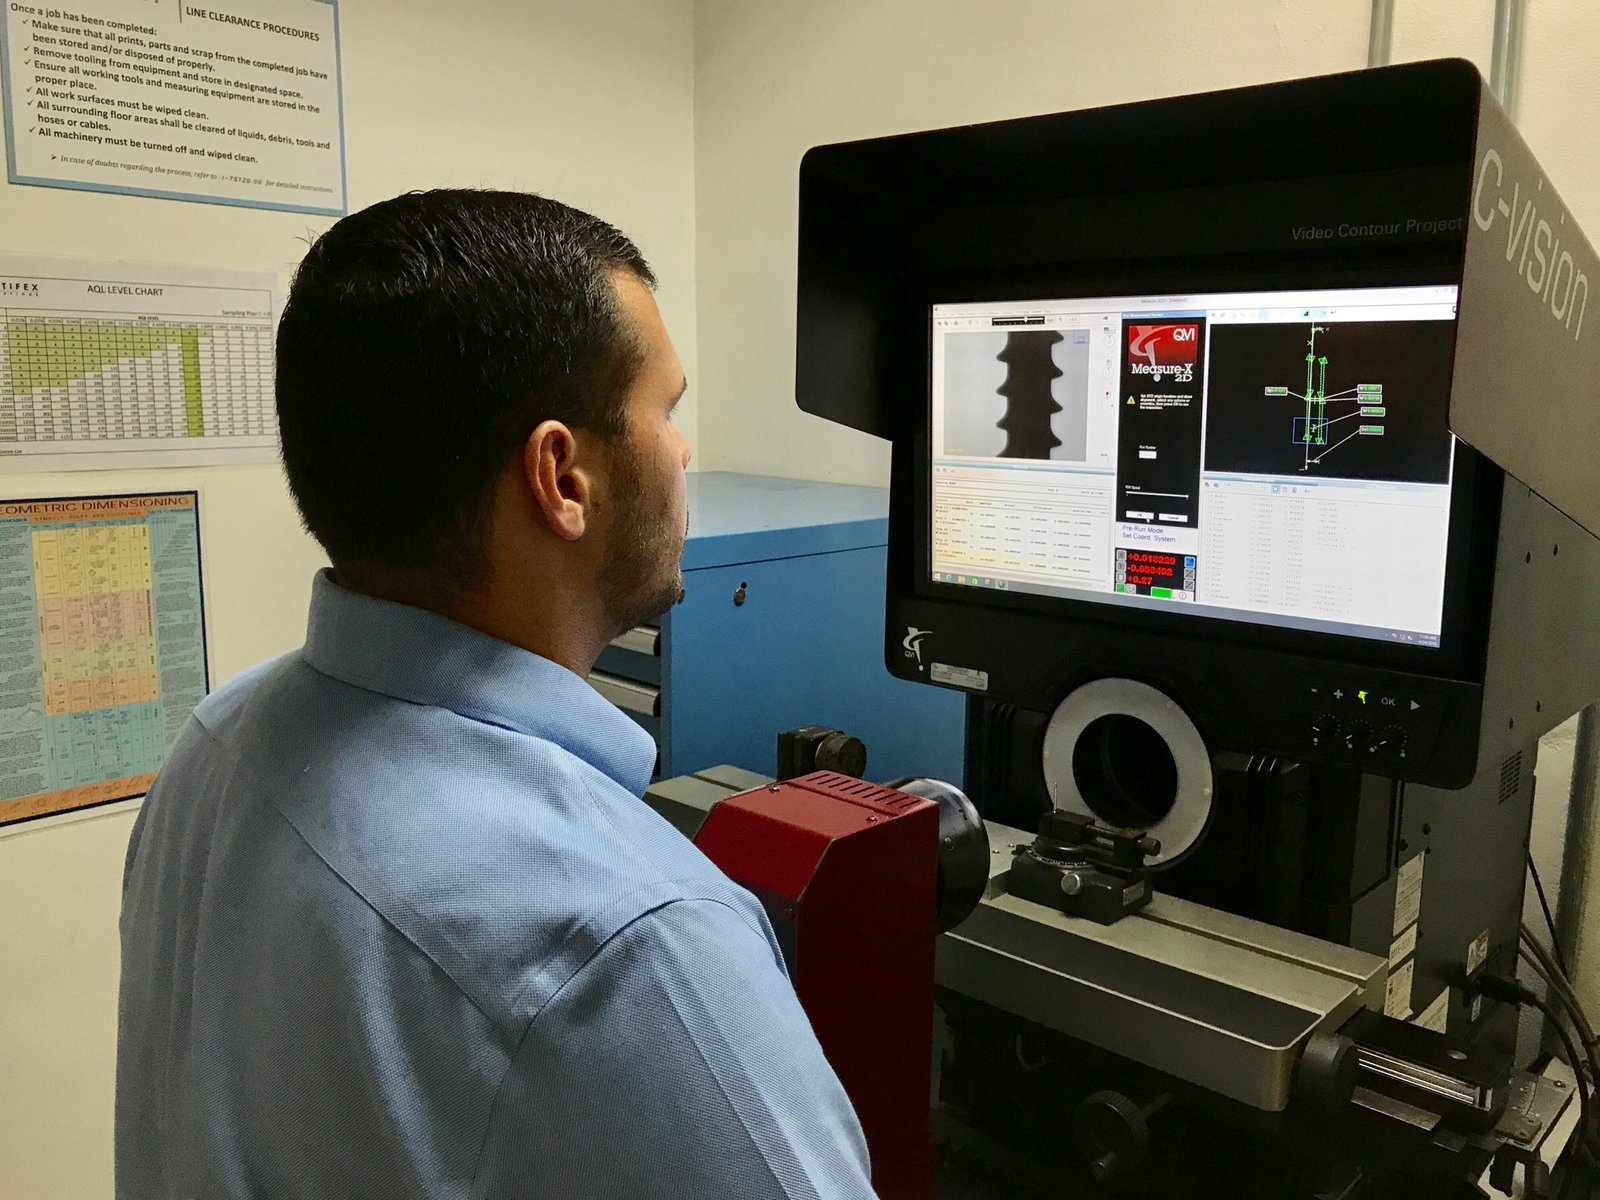
The c-vision™ Video Contour Projector is a measuring system that uses advanced automatic video metrology technology for measurement and quality inspection. After viewing a demonstration of the c-vision™ in action, Lopez was convinced that it was just what his company needed to take their part inspection to the next level.
Here was a high accuracy video comparator with the capability to create reusable part routines that would reduce operator variation, reduce inspection time, and improve the overall speed and accuracy of the quality approval process. The c-vision was the solution they were looking for.
In the past, Artifex used optical comparators that could not create electronic part overlays or a reusable measurement routines for specific parts; c-vision™ solved this problem. As an added key benefit, c-vision™ has the precision to determine if a part was within a specified tolerance.
The c-vision™ is kept in a controlled room, isolated from the manufacturing area, in order to keep it away from any grease, dust, or material that may alter measurements.
The machined parts are then measured to ensure major and minor diameters, pitches, and lengths are within design specifications. The part routine used for pitch diameter measurement was even implemented into the c-vision system, allowing for rapid changeover of part sizes. c-vision™ measurements are then output into the Artifex Solutions quality control documents.
Artifex Solutions shares those documents with customers to document and assure the quality of their medical products.

THE RESULT
With the implementation of c-vision™ into their quality inspection process, improvements followed:
- Production part rejection rate dropped drastically from 10% to less than 5% because parts now could be measured with less uncertainty
- In-process batch inspection routine time was slashed over 90% using the vCAD virtual chart gage feature
- Reproducible measurements of bone screws with tolerances as tight as 0.001 inches
The quality inspection process for Artifex Solutions strives for efficiency and ease. Timeliness and ease-of-use of c-vision™ were very appealing to Kelmith. In order to effectively use the machine, operators only need basic computer knowledge, making the product accessible and easy for anyone to use.
Kelmith also remarked that his confidence about the quality of manufactured products has greatly increased since the introduction of c-vision™ into their control process.
“The great part about c-vision™ is the simplicity,” commented Lopez. “It’s a good feeling when you know you have the right machine to ensure your product is top quality.”
let's get connected
